
Learn to Think / Learn to See / Learn to Create
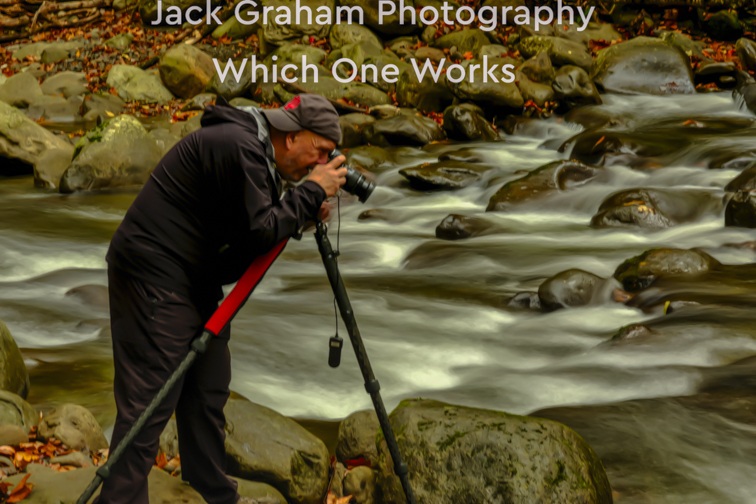
WHICH ONE WORKS? # 1
“Composition, Processing Challenges and the Feeling”
LOCATION
Beaver pond, Lundy Canyon, Eastern Sierra, California
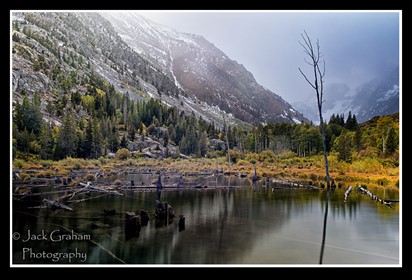
Image #1/ Beaver Pond, Lundy Canyon, Eastern Sierra (PROCESSED) Date/Time: 2011:10:10 16:21:36
THE STORY
Prior to the start of our fall workshop in the Eastern Sierra, in 2011, Guy Tal and I spent a few days together, scouting the area for our coming workshop in early October. Late in the afternoon as some cold stormy weather was moving in, we drove back into the beaver pond past Lundy Lake. These conditions provided the potential for some drama in the canyon. I have been in this location before in some wonderful weather tor photography (snow, adverse conditions, dramatic skies). There is plentiful subject matter here and trying to make simple images can be a challenge. There is a series of ponds all high maintained by the local beavers who monitor the water level and use the abundant number of aspens and other trees to construct their dens, easily visible from the shoreline.
Its’ about seven thousand’ elevation here and the temperature is usually about 10-15 degrees colder than in close by Lee Vining and Mono Lake. Though the weather was not terrible, it was about 32 degrees Fahrenheit and windy and raining and snowing at times hard.
Unfortunately, the wind was blowing right at us. I have been in worse. The light was just ok, but for a very few minutes when the sunlight pushed through the clouds in the distance above the peaks of the Sierra where it was snowing, the light and conditions made for an interesting photograph. The accumulating snow on the peaks really made this image interesting. Though I had my chamois ready and the raindrops/sleet was a factor on my lens. Good thing I was prepared!
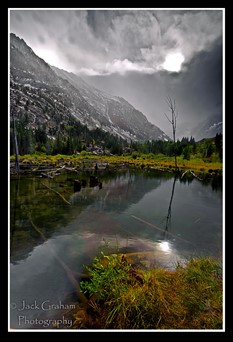
Image#2/Beaver Pond, Lundy Canyon, Eastern Sierra (PROCESSED) Date/Time 2011:10:10 16:04:41
TECHNICAL DATA
IMAGE #1 (Landscape)
Nikon D700 /Nikon 28-70mm F 2.8 / Shutter speed: 1/30 sec Aperture: 16
ISO: 400 Focal length: 30mm / Exposure mode: Manual Metering mode: Spot
IMAGE #2 (Portrait)
Nikon D700 /Nikon 17-35mm F 2.8 / Shutter speed: 1/13 sec Aperture: 16
ISO: 400 Focal length: 20mm / Exposure mode Manual Metering mode: Spot
Let us discuss processing. I did all my normal processing Adobe Lightroom and Photoshop (did a lot of cloning in Photoshop of the water droplets that I could not prevent from hitting my lens). I followed that up with the use of NIK Software as follows:
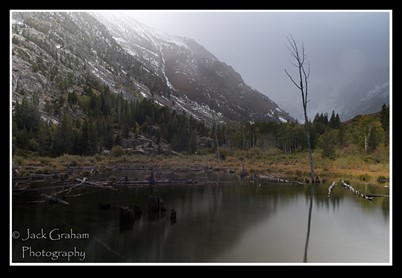
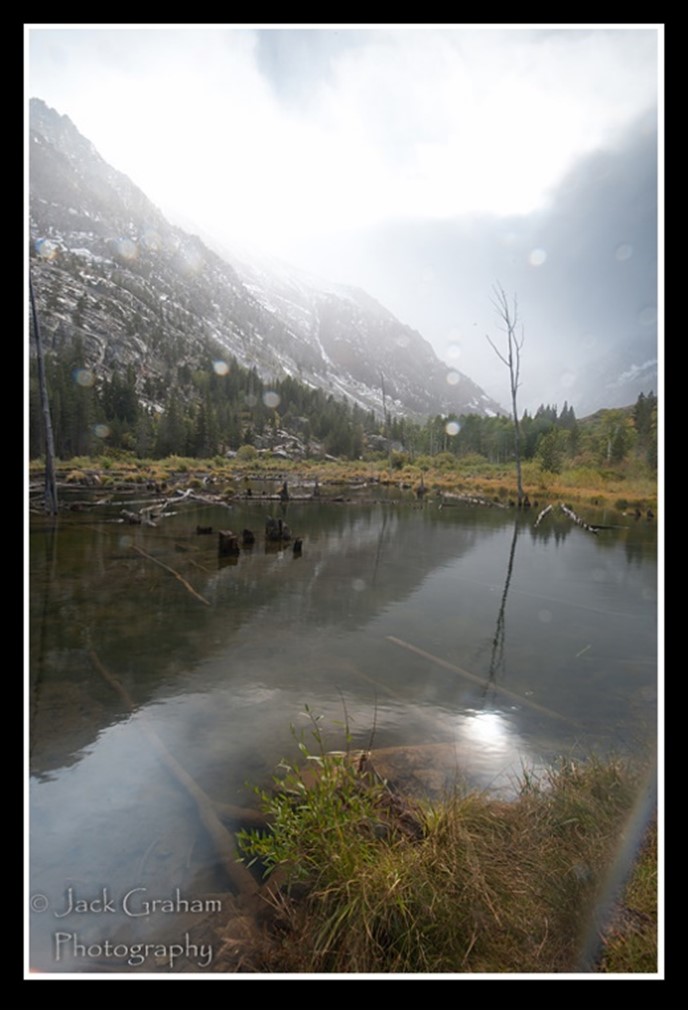
Below are the original RAW FILES of each image.
1) Define 2.0—noise reduction. With my Nikon D700 at ISO400 there was NO noise
2) Viveza 2.0 – added a good amount of structure and some contrast to the clouds (see my glossary below & learn these terms). I reduced the amount to light in the upper right.
 By adding some structure to the water, I was able to bring out some of the reflections as well. I also adjusted the shadows in the trees and brought out a lot of definition, lost in the RAW file. (This is why we use the RAW format. We have much more to work with and can make these adjustments correctly… a discussion of RAW vs. jpeg can be found here: http://jackgrahamphoto.wordpress.com/2011/03/04/photo-tip-podcast-workshop-info/
3) Color Efex 4 – I added just a tad of Brilliance & Warmth and then just a little Pro Contrast. I used the foliage adjustment to bring out the greens & the foliage along the shoreline. As always, I added a vignette, using the Darken –Lighten center feature. This allowed me to choose where I want the center of attraction to be. I chose the shoreline on the left side of the pone. and adjusted the amount of vignette I wanted as well as the amount of darkening I wanted the boarders to have.
(NOTE: As of this writing, I am now using Noise Reduction and Sharpening from TOPAZ LABS.
4) Sharpening: I used NIK’S Sharpener Pro 3.0. I wanted the trees and vegetation sharper than the mountaintops and certainly the sky. With the Nik software I can control using the U-Point technology the area I want to have sharper than others. Not all images need this but this one did
I walked about 5 feet to my right to make images #2, using a foreground. Always slow down and walk around and check different areas in your location I really can have influence

THE EDIT
Both images deliver a different feeling and emoting. I chose image #2. For me, the vertical rendition worked better. In the horizontal image the lone tree was very dominant, taking away from the drama of the sky and weather conditions. The main reason however was the good anchoring with the strong foreground in the vertical image, along with the drama of the conditions. I like the use of a good foreground to anchor the image is at all l possible.
I was not happy that the reflection of the sun in the water is so dominant but sometimes things cannot be prefect. I did like how the sun in the sky is just to the right of the top of that one lone tree.as if its pointing at the sun. I also like, really in both images how the submerged under the water in the pond acts as leading lines to the other side of the pond.
The composition is simpler in the vertical. My eye keeps moving around looking for somewhere to land in the horizontal image. There is a lot of subject matter in the horizontal. Simple is always better. In addition, the clouds were much more dramatic in image #2. Also note how two different lenses can evoke a distinctive look and feel to an image as well. Image was made with my Nikon 17-35mm F2.8 (a very sharp lens) . I got down low to the ground to get the foreground where I wanted it. Image #2 was made with my Nikon 28-70mm F2.8, also a very sharp lens. There was no foreground where I was standing.
I always recommend, if possible, to shoot both verticals and horizontal images of the same subject and make the decision later! Each delivers a different story and feeling These 2 images are a good example.
To recap, these items, in order of importance to me are why #2 was my choice.
1) #2 has a simpler, but stronger composition, delivers a better feeling to the mood
2) Strong foreground
3) Clouds more dramatic
4) Position of the sun on the top as well as the reflection
5) Better light
Let me know what you think!
As always, your comments are always welcome and appreciated.
Jack Graham
EMAIL WEBSITE PODCAST GALLERIES
The right to download and store or output any content on www.jackgrahamphoto.com is granted for preview purposes only and may not be reproduced in any form.
All Photographs appearing on this site are the property of Jack Graham unless otherwise noted.
These photos are protected by U.S. Copyright laws and are not to be downloaded or reproduced in any way without the written permission of Jack Graham
By entering this site you accept these terms. If you need permission to use a photo on this site, please call 503-625-1430 or EMAIL Jack Graham