WEBSITE IMAGE GALLERY WORKSHOPS PODCAST
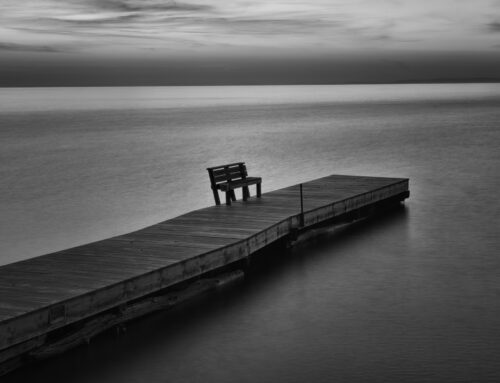
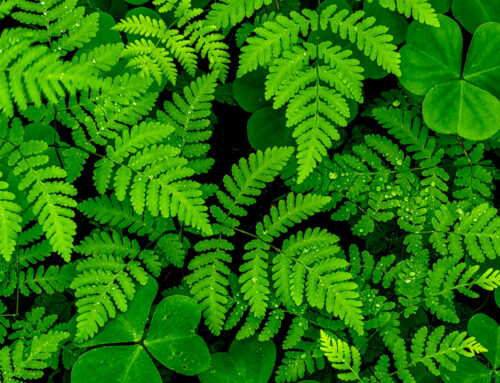
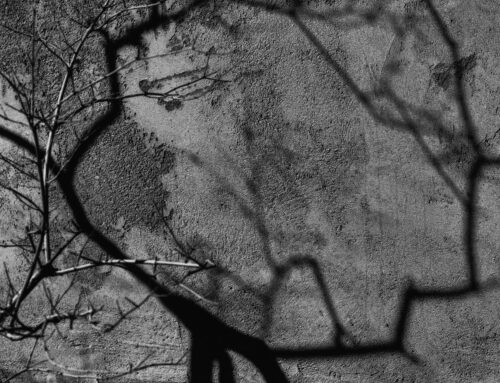
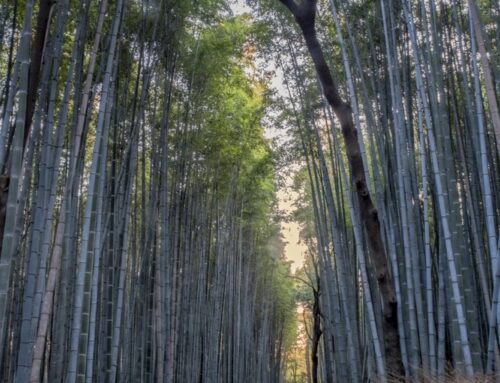
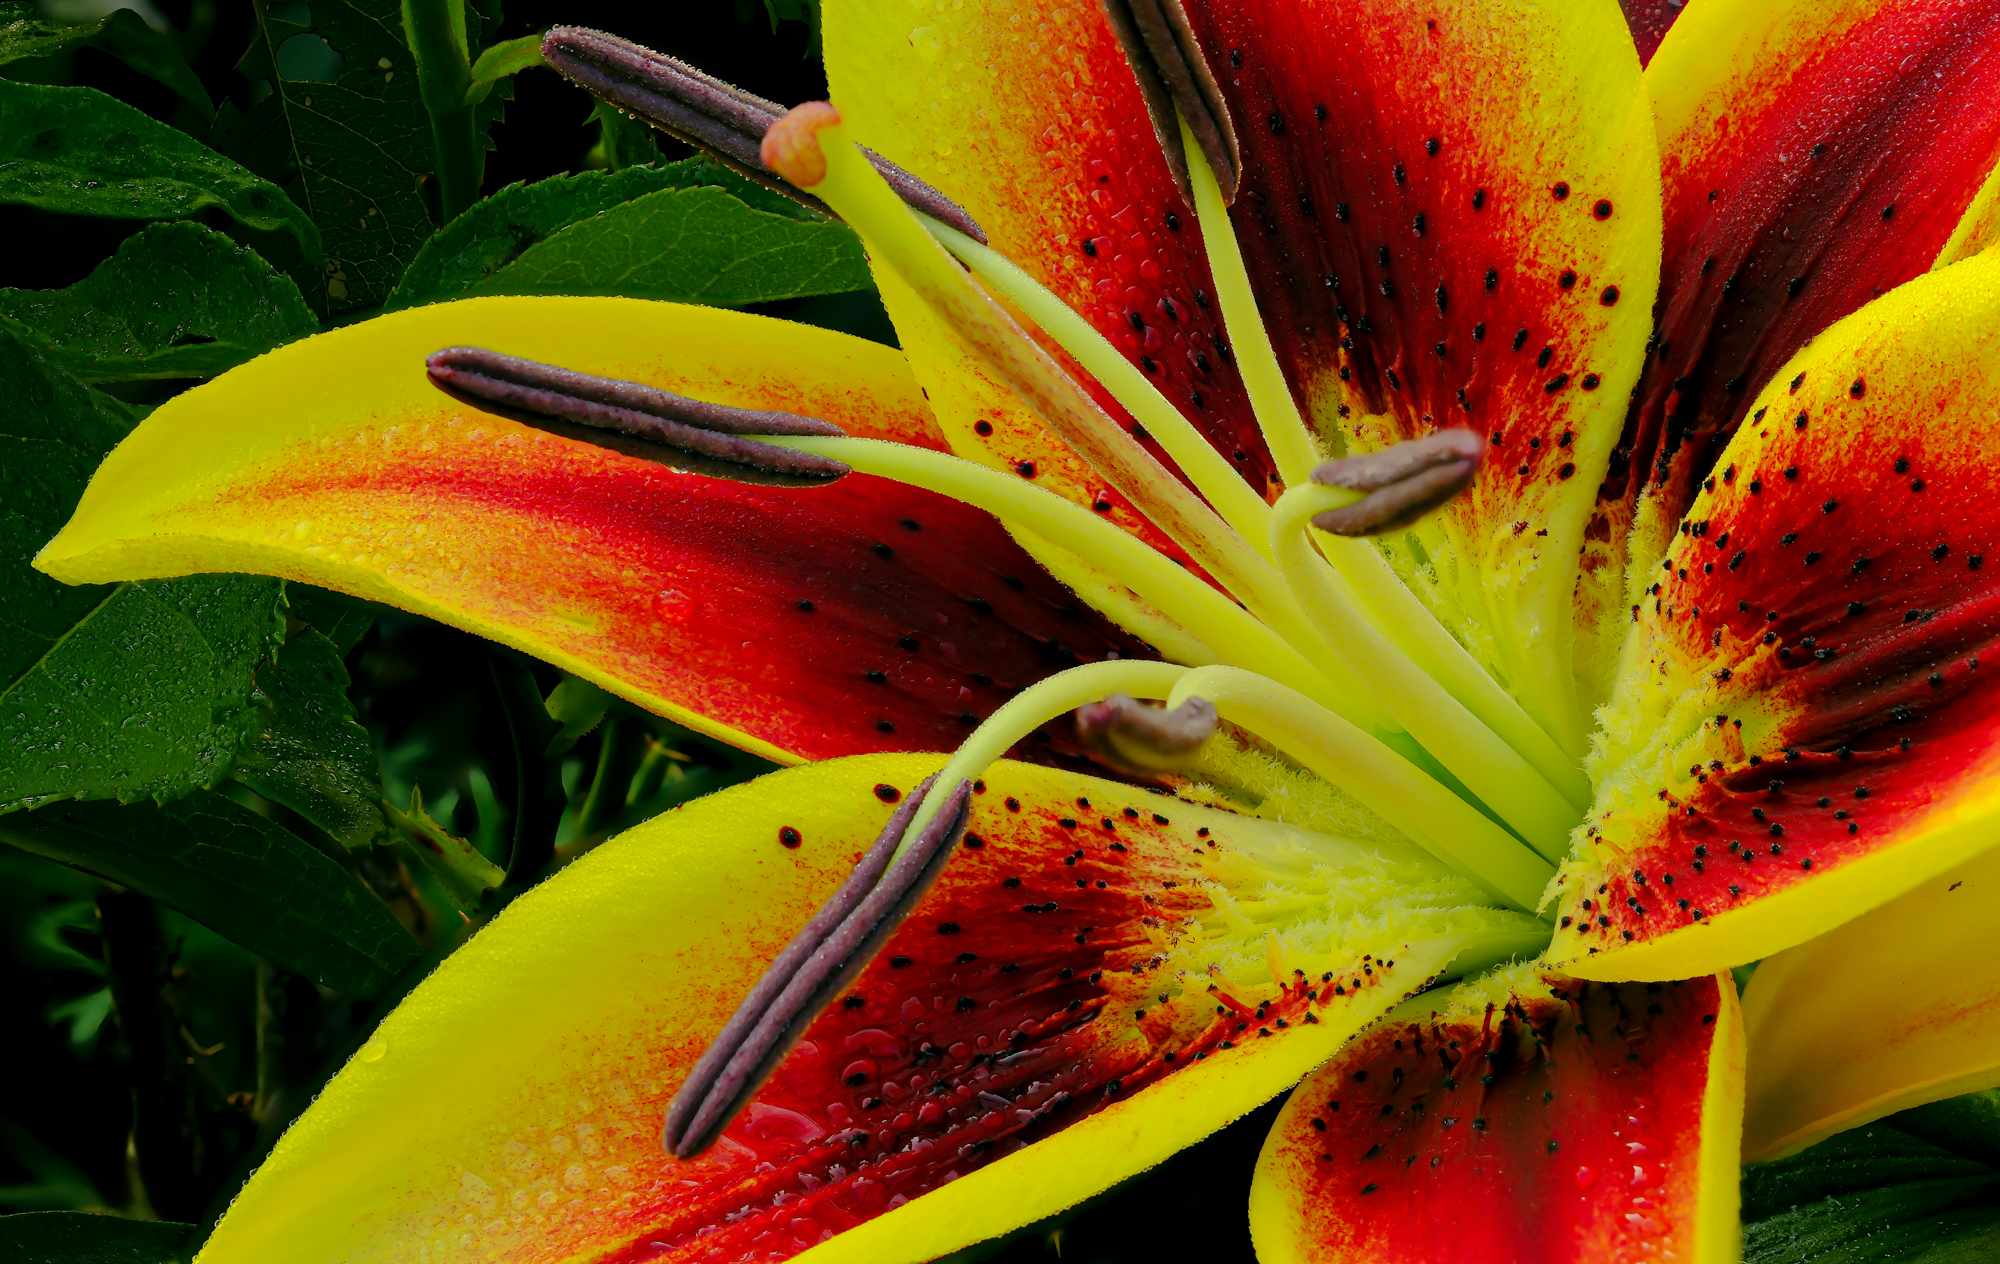
NOTE: These are my recommendations. These are General settings and must be adjusted for different results. Experiment to determine your vision for each subject. Different subjects require different settings. Setting is based on your vision and creativity. The images contained in this document were made using the techniques outlined below. Each is a composite of 50 RAW files.
These techinques, though shown here in macro photography can be used successfully in general photograph as well. Note the caveats listed at the bottom of this document.

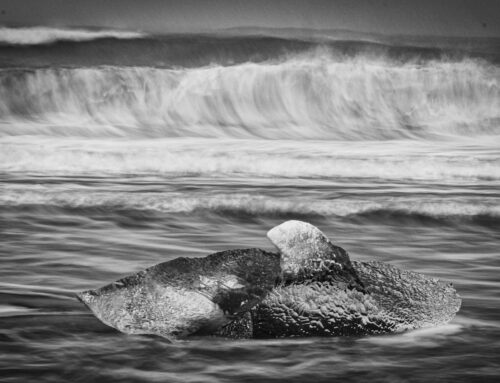
Stacked from 50 images
CAMERA SETTINGS
- Images made in RAW
- UNDER SHOOTING SETTINGS MENU: Place Camera in Electronic (ES) (Shooting Setting Screen 1)
- Set the DRIVE DIAL (under ISO SETTINGS DIAL -top left) to BRACKET MODE (BKT)
- Adjust White Balance to DAYLIGHT (not AUTO—my preference)
- Set lens aperture to the lens “Sweet Spot” (usually 3 stop above widest aperture, example: if widest aperture is F 2.8, usually sweet spot is F8)
- Set Focus Mode Selector (front corner, bottom) to “M” (for manual)
- UNDER CAMERA MODE SETTING:
- Screen 1 of 3, go to DRIVE SETTING
- Go to BKT SETTING
- SELECT FOCUS BKT (on bottom) and select MANUAL
- THERE ARE 3 SETTING HERE
- FRAMES. Set to the frames you want to shoot (50 is a good start, you can go up to 999)
- STEP (This tells the camera what the frame to focus each image on) 1 is in 20% increments) 10 is the max # of increments. I recommend leaving this set to 10.
- INTERVAL Leave at “0”
5. SELECT BKT SETTING and scrool down to FOCUS BKT (a small box indicating you are using “focus” when using the BKT SETTING(drive setting-see above) is selected.
YOU ARE READY TO GO!
TIPS WHEN IN THE FIELD
- Use a tripod.
- Either use a cable release or set your self-timer to 2, or 10 seconds to eliminate any movement when depressing the shutter button.
MAKING THE IMAGE
- Compose your image carefully as would normally.
- MANUALLY FOCUS on the point closest to the front of the image.
- Make sure your shutter speed and ISO (lowest possible as always) are set accordingly (NOTE: JUST THE SLIGHTEST MOVEMENT will result in If it is windy or the subject is moving AT ALL try another time. Processing your image might become impossible.
The 2 caveats to focus-stack images are.
- Nothing at all can be moving, even in the slightest way.
- The light must remain constant throughout the burst of frames.
- Begin by focusing on the CLOSEST POINT of the subject using manual focusing.
NOTE on FOCUSING
- You may choose to use MF ASSIST on screen 2 of 3, found under the AF/MF Screen.
- Then select PEAK. Select COLOR under the PEAK HIGHLIGHT section and select your color (I use Red High). I will change this when photographing red subjects as red peak will then be hard to see
WHEN FINISHED
Be sure to remember to readjust your camera to the way you make images after this process. This way the next time you are out you are photographing, thw camera is reset back to the way you are used using it. (remember to readjust your shutter back to MANUAL (MS)
POST PROCESSING
Though Adobe Photoshop is getting better with each update, my software choice to stack all the images into one image file is HELICON FOCUS. It has been around for many years and is. For me it is more precise than Adobe Photoshop. As always RAW files, though bigger and require a good powerful computer to process, will render greater control of the image than JPEG files (though smaller in size).
After you have your single image (it will be a big file). Process it the way you normally would, paying diligence.
All Text and or images are © Jack Graham/Jack Graham Photography LLC. All rights are reserved.

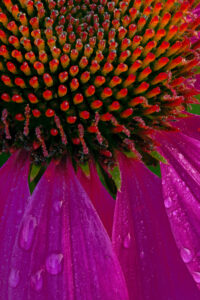
Stacked from 50 images